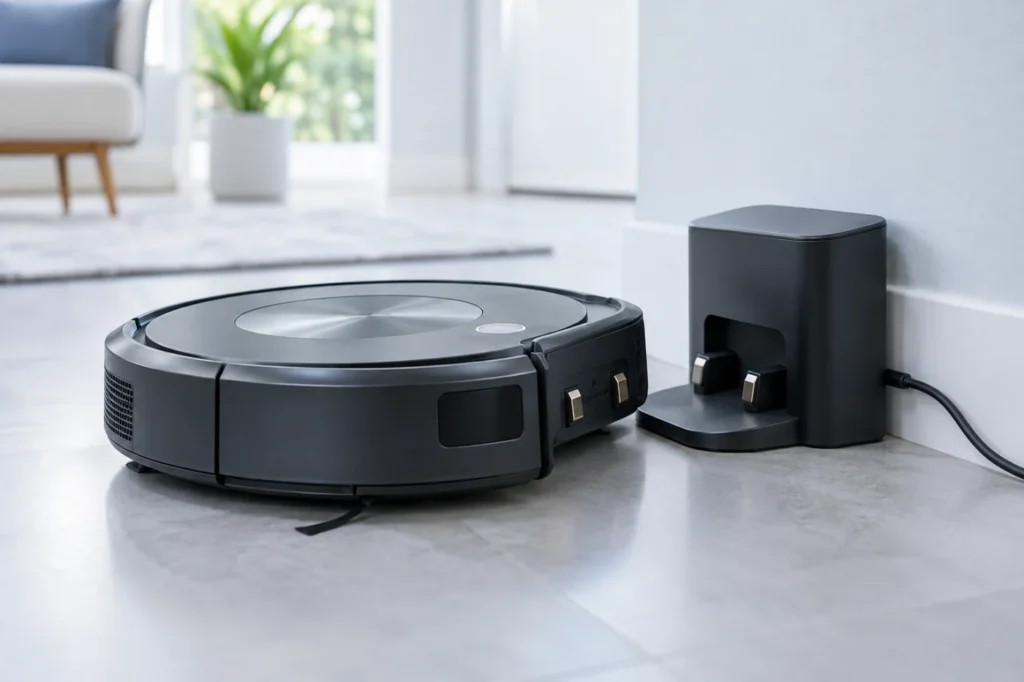
Begin with the quick checks. Stop if a step requires tools or experience you do not have.
Quick answer: If you are dealing with a Roomba j7 not charging problem, first confirm that the Home Base or Clean Base has power. Then unplug the base, clean the charging contacts on both the robot and dock, remove debris from the front caster wheel, and place the robot squarely on the base. Reboot the Roomba before considering a replacement battery.
A Roomba that sits on its base without gaining battery power does not automatically have a failed battery. Dirty contacts, an uneven floor, a loose power cable, debris under the front caster, or incorrect positioning can all prevent a reliable charging connection.
The checks below apply to the Roomba j7 and j7+ using a compatible Home Base or Clean Base. Start with the simple external checks and stop if you find damaged contacts, a hot battery, a damaged cable, or signs of liquid inside the robot or dock.
Before troubleshooting a Roomba j7 not charging
- Move the charging base away from water, direct heat, and strong sunlight.
- Unplug the base before cleaning its charging contacts.
- Use a dry or only slightly damp cleaning material—never pour cleaner onto the contacts.
- Do not open the charging base, battery enclosure, or internal electronics.
- Allow the robot to cool to room temperature before testing it again.
- Keep pets and children away while inspecting the dock and power cable.
Check the iRobot Home app before beginning. Note the current battery percentage, any charging icon, and any displayed error message. This gives you a useful baseline for the final test.
Roomba j7 not charging: what to check first
| Symptom | Likely area | First check |
|---|---|---|
| No charging indication at all | Outlet, cable, or charging base | Test the outlet and reseat the power cable |
| Robot charges only when repositioned | Charging contacts or dock alignment | Clean both contact surfaces and level the base |
| Charging starts and then stops | Unstable contact or temperature | Inspect the caster wheel and let the robot cool |
| App shows charging but percentage does not rise | Battery, contacts, or software state | Clean the contacts, reboot, and monitor for 30 minutes |
| Base has power but robot remains unresponsive | Robot battery or charging circuit | Perform the safe reboot procedure |
| Contacts appear burned, loose, or recessed | Physical charging hardware | Stop testing and contact service |
1. Confirm that the charging base has power
Begin at the wall outlet. Plug in another small appliance or lamp to confirm that the outlet works. If the base is connected through a switched outlet, extension lead, surge protector, or smart plug, temporarily connect it directly to a known working wall outlet.
Push the power connector firmly into the charging base. Inspect the cable for cuts, crushed areas, bent connectors, or signs of overheating. Do not continue using a damaged power cable.
If your Roomba j7 is not charging after the base has been moved, make sure the correct power supply remains connected. A plug that physically fits is not necessarily electrically compatible.
2. Clean the Roomba j7 charging contacts
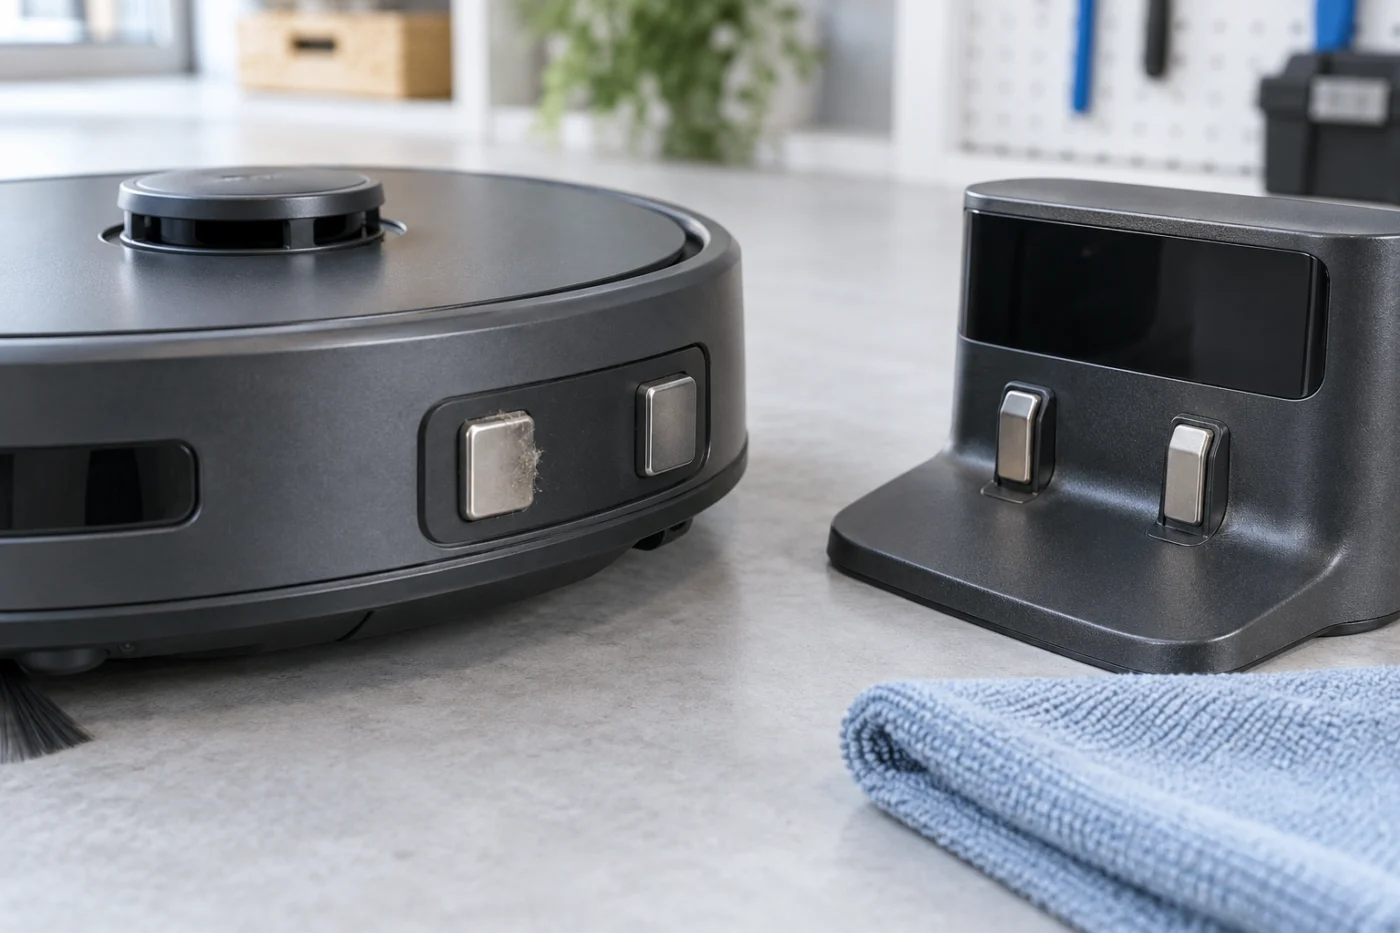
Dirty charging contacts are one of the most common reasons a Roomba will dock but fail to charge consistently. Fine dust and oxidation can create resistance even when the metal surfaces do not look especially dirty.
- Remove the robot from the charging base.
- Unplug the base from the wall.
- Locate the two metal contacts on the robot and the matching contacts on the base.
- Wipe away loose dust with a clean, dry microfiber cloth.
- If residue remains, gently clean the metal surfaces with a lightly dampened melamine foam pad.
- Allow every contact to dry completely before reconnecting power.
Do not spray water, alcohol, contact cleaner, or household detergent directly onto the robot or charging base. Avoid scraping the contacts with a knife, screwdriver, sandpaper, or other metal tool.
When a Roomba j7 not charging issue improves after the robot is pressed down or moved slightly, contaminated contacts or poor alignment are especially likely.
3. Place the robot squarely on the base
Put the charging base on a hard, level floor with its back flat against a wall. Thick carpet, a warped mat, or an uneven tile edge can change the angle between the robot and the charging contacts.
Move the Roomba onto the base manually. Both sides of the robot should sit evenly, without one wheel resting on a cable, rug edge, or piece of debris. Wait briefly and then check the iRobot Home app for a charging indication.
If charging begins only after several positioning attempts, inspect the base for movement. A lightweight dock can slide backward when the robot approaches it, particularly on smooth flooring.
4. Clean and inspect the front caster wheel
The small front caster wheel determines the height and angle of the robot while it sits on the base. Hair, thread, or compacted debris around the caster can lift the front of the robot enough to weaken contact pressure.
- Turn the robot over on a soft towel.
- Remove visible hair and debris around the caster wheel.
- Check that the wheel rotates freely.
- Inspect the wheel housing for packed dirt.
- Reinstall any removable components securely before docking the robot.
Also check the main wheels for debris that prevents the robot from sitting level. If you are already performing underside maintenance, see our guide to a robot vacuum main brush that is not spinning for examples of safe external cleaning practices.
5. Reboot the Roomba j7
A temporary software or battery-management state can prevent charging information from updating correctly. A reboot restarts the robot without deleting its maps, schedules, or account connection.
- Remove the Roomba from the charging base.
- Press and hold the CLEAN/power button for approximately 10 seconds while the robot is off the dock.
- Release the button and wait for the robot to shut down.
- Press and hold the button for approximately 3 seconds to turn it back on.
- Return the robot to the powered base and check the app again.
Button behavior can vary with software version. If the robot does not respond as described, follow the reboot instructions displayed for your model in the iRobot Home app or the official support center. Do not perform a factory reset merely to solve a charging problem; a factory reset may remove saved settings and maps.
6. Let the battery reach room temperature
Charging may pause when the battery is too hot or too cold. This can happen after a long cleaning run, near a heater, in direct sunlight, inside a cold garage, or immediately after the robot has been moved from a very cold location.
Move the robot and base to a dry room at normal indoor temperature. Leave the robot off the base for approximately 30 minutes, then reconnect the base and test charging again.
If the battery or robot housing becomes unusually hot, produces an odor, looks swollen, or makes an unfamiliar electrical sound, disconnect the base and stop using the robot. These conditions require professional inspection.
7. Determine whether the battery or base needs service
After completing all previous checks, place the Roomba on the base and leave it undisturbed for at least 30 minutes. Compare the battery percentage in the app before and after the test.
A battery problem becomes more likely when:
- The app recognizes charging but the battery percentage never increases.
- The robot charges briefly and loses power immediately after leaving the dock.
- Runtime has gradually fallen over many months.
- The robot works only while sitting on the charging base.
- The battery produces excessive heat or a battery-related error appears.
A charging-base problem becomes more likely when:
- The base receives no power from a verified working outlet.
- The cable or connector is visibly damaged.
- One of the base contacts is loose, recessed, burned, or does not move normally.
- The robot charges normally on another compatible base.
- Another compatible robot also fails to charge on the same base.
Do not open the battery pack or charging base to test internal voltage unless you are qualified to service powered electronic equipment. Use a model-compatible replacement part or contact iRobot support.
Why does my Roomba charge only when I move it?
If charging begins when you press the robot down or shift it sideways, the most likely causes are dirty contacts, a blocked caster wheel, an uneven floor, or worn charging hardware. Repeatedly repositioning the robot is not a permanent repair because the connection may continue to overheat or disconnect.
Why does the app say charging but the battery stays low?
The charging icon confirms that the robot detects the base, but it does not always prove that the battery is receiving a stable charge. Clean the contacts, reboot the robot, let it reach room temperature, and compare the battery percentage after 30–60 minutes.
If the percentage remains unchanged, the battery, charging base, or internal charging circuit may need service. This is particularly likely when a Roomba j7 not charging problem remains identical after every external check.
Can a completely discharged Roomba j7 take time to respond?
Yes. A deeply discharged battery may not wake immediately. After confirming that the base has power and the contacts are clean, leave the robot properly seated on the base for at least 30 minutes before repeating the reboot or checking the app.
Should I replace the battery immediately?
No. Replacing the battery before checking the base, contacts, caster wheel, temperature, and software state can waste money. Battery replacement is reasonable only after the simpler causes have been eliminated or when the robot shows clear symptoms of battery deterioration.
Related robot vacuum troubleshooting guides
Continue with the Roomba troubleshooting section, or browse the complete robot vacuum repair guide directory.
For other common maintenance problems, see:
- Roborock Q Revo Mop Pads Not Getting Wet
- Roborock S8 Main Brush Not Spinning
- Dreame L10s Ultra Not Dispensing Water
Official support reference
For model-specific reboot instructions, battery errors, warranty coverage, and approved replacement parts, visit the official iRobot Support Center.
Final check
Most Roomba j7 not charging cases should be narrowed down by checking dock power, cleaning both sets of contacts, removing debris from the caster wheel, positioning the robot correctly, rebooting it, and allowing the battery to reach room temperature.
If the Roomba still does not gain charge after those checks, stop replacing random parts. Inspect the contacts for physical damage and have the battery, charging base, and internal charging circuit tested by an authorized service provider.